My blog has moved!

You will be automatically redirected to the new address. If that does not occur, visit
http://ysquarec.blogspot.com
or replace this permalink, from y--square to ysquarec.

Showing posts with label Engineer-ing. Show all posts

10/14/2011

Ysquare Photoblog 23: Library in the car aka The Moving Library

Photobucket
Thanks to the complexity of my Final Year Project, I have to do a lot of research. however, Library isn't open 24 hours, so I have to bring back ALL the related reference home~

Photobucket
~_~ Soooo many books. God bless me >.<

10/02/2011

FML - Wikipedia's Simple English =.= are you kidding me?

There is once I am very proud that I study Science and bombard my friends around me with the scientific terms that no1 could understand(I know, so mean right?). It was so bad at a point that my friends have to ask me to speak ENGLISH! LOL


Thats no the point of this point. When I was doing some research about my Final Year Project, which is some how related to medical (but you know my major is in Electronic and Computing), it really give me some hard time. One of the most complete guide to encyclopedic on net should be Wikipedia. Like you know, their English is so Fu(k!ng hard to understand =.=


Photobucket

So I decide to find the Chinese version (since my mother tounge is Mandarin + Cantonese), but hey! I found the J3sus Chr!st in language:


Photobucket

Photobucket
Wiki, are you kidding me? =.=

7/09/2011

Intel Sponsor of Tomorrow Employee Expo


Last week, I was very honor, or I would prefer to say lucky to attend Intel Sponsor of Tomorrow Employee Expo in their Kulim(Malaysia) site. Maybe you would think an expo is nothing, but this expo is so exclusive that it is open to Intel's employees and immediate family members only. Need not to guess, I am 1 of them ^ ^
Photobucket
Upon entering the expo, a recycle bag is awarded as a door gift.
(was so keen to buy a cute shopping bay the other day when I went to  Queensbay Mall but were discouraged by their price. Now I can get 1 for free ^ ^)

1/21/2011

You just tell me, what/which answer you want?

Photobucket
courtesy to Edward Voo for sharing it on facebook.

Just a random post.
I know you and me are proud to be engineers! ^ ^

10/26/2010

Sorting using C++ in both ascending and descending order

When I am doing a home work research on this topic, I found very little help from the net and all scatted around. So, I wanna publish it to share with you guys.
There are 4 sorting technique I wanna discuss here. Note that, I get the information from the internet and then compile it.

Bubble sort:

bublle sort

Bubble sort coding

Selection sort:
Selection sort

Photobucket

Insertion sort:
Insertion sort

Insertion sort coding

Quick sort:
Quick sort

Quick sort coding

Because I had an assignment/experiment to complete a C++ coding with the output as below, that is why I started to search all these thing.
Photobucket


You can download the coding from here
and the experiment report here
It will be extremely beneficial to my junior (I guess so) and for those for wants a one stop information for sort using C++.

10/09/2010

How to create a magnetic lock: Phase 4: Housing

Although we have completed the core of the magnetic lock, it is still not finish yet. We still need to install the core on the door and door frame so that it could be use. TO protect the core, we a housing for it so that it is easy to install and minimize the harm towards the core when it functions.

These machine are what we used. We "borrow" it from the manufacturing faculty 1km away.
searing mechine
Searing machine: To cut the housing materials (stainless steel) into sizes that we want.

auto bending mechine
Auto Bending machine: Not be bend any air, water, earth or fire. It is to bend metal, and in our case stainless steel.

Manual bending mechine
Manual bending machine: The auto bending machine need to operate under the supervision of a technician. In case the technician is not around, the manual bending machine have to be use instead.

Driller
Driller: The housing, depends on the design, needs to be drill at suitable place to screw into the door and door frame.

10/01/2010

DiGi iPhone 4 Play

Wanting an iPhone is not a joke ok? I did do some research on that.

People want iPhone as a part of entertainment. Not for me, the apps will really help in lighten up my work. Maybe as a industrial disease, I( engineering student) tends to want everything in details, including groceries and meals. When, I am shopping, I count every prices per kg or Little of different packing size, so that I can spend the least to get the most.

When I am out with friends for meals, calculating price of each person's portion is necessity since we are not rich to treat each other. So, a calculator in my hand bag wherever I go always come in handy.

casio fx-570ES scientific calculator
My Casio fx-570Es scientific calculator

The calculator that I'm using is not just any calculator. It's a natural display calculator.
The only issue I have with my calculator is that of it's weight and thickness.
If I can have an iPhone 4, life will be easier.

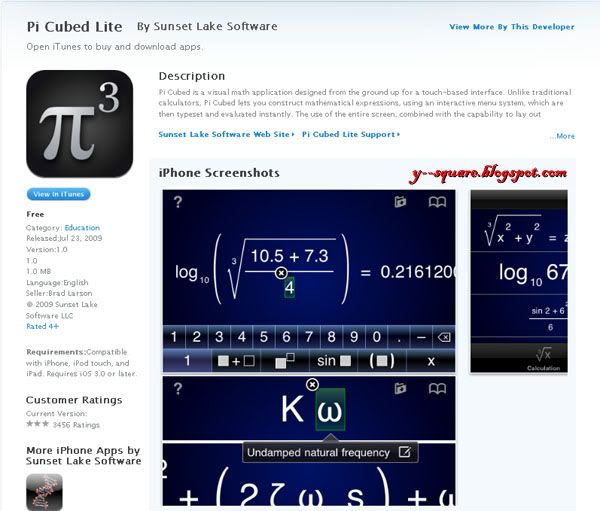
pi cube lite
This pi cube Lite iPhone apps is a very strong calculation apps. It doesn't only fit's my leisure life, it can also be use as a scientific calculator for me to do my study and homework.
Well, I just love this equation:
Engineering = Maths = Calculator =Pi Cube Lite =iPhone 4 !!!
Photobucket


Here is a video on overview of Pi Cubed for iPhone / iPod touch (version 1.11)


I don't know whats the difference between Pi Cube and Pi Cube Lite.
I guess Pi Cube Lite is just the free version of Pi Cube which has less function just like Microsoft Visual C++ express and Microsoft Visual Studio.


Photobucket
Other than Calculator, I also have habits to bring my dairy (or more like a daily and monthly planner) and to do list paper wherever I go.
You see, these very light and small things will be a considerable weight and space in my handbag if it has a considerable amount.

However, that's not all,
I can't even read what I wrotePhotobucket

Photobucket

Photobucket

All the scatted writing will not emerge a notification effect, So I did another to-do list beside my table:
my todo list

my study +work+play table
So, whenever I study, work or play, the to do list stares at me = =Photobucket
Photobucket
Sigh... not efficient at all!!!
If I have a iPhone, things go different:
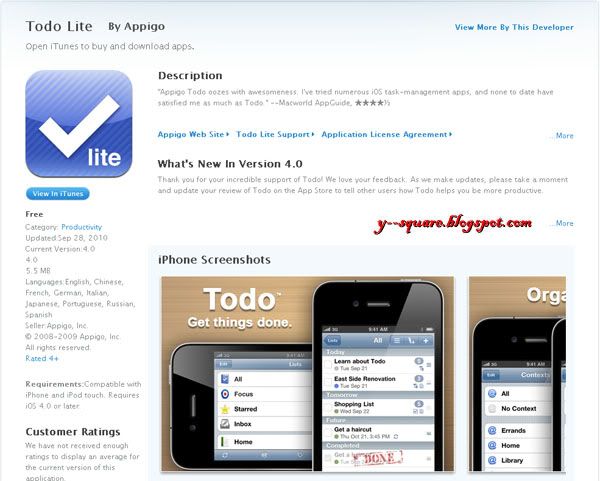
Todo Lite
Introducing Todo Lite
No more diary or to do list scatted every where!

You know, iPhone is a smart phone. It needs to have a considerable smart plan to perform as smart phone. With Digi
's iDiGi Postpaid Plans, I can have unlimited excess.

What does that means?!

Boil phone porridge!!! (褒电话粥)
i.e nonstop calls.

I can use Skype to call and message instead of using my sim card.
That can really save heaps of cash.
Skype for Iphone
With this feature, I can talk to my dear dear all day long!
Photobucket

karmen rider dear dear
Photobucket*blushed*

With high rates from the public, these 3 apps would definitely turn into my favorite apps once I get an iPhone 4.

9/28/2010

How to create a magnetic lock: Phase III: Winding the bobbin, not the core.

In the previous post. I mention how to make a 1 time use bobbin. Now I am going to do windings in the bobbin, insulate it and put it into the E core.

Remember that bobbin I made?
1 time bobbin
It has no holes, we(suppose to me my group mate and I but the uncle helped) have to drill 1 hole in the middle, so that we can attach it to the winding device.

drill hole in bobbin before winding
Drill the bobbin using electrical driller.

add plastic to bobbin to cover non smooth area.
PhotobucketIt's very embarrassed that I didn't make the bobbin smooth enough, so I have to add a layer of plastic. If it happens to doing the same project, stupidly follow my previous instruction on doing the 1 time bobbin, you probably need to cover up the non-smooth surface like I did.

clamp winding mechine
To avoid unwanted movement the device has to be stabilize.

I was dizzy busy learning from uncle Teng (below) that I forgot to capture some steps.
Uncle Teng, the wireman and Engineer to be that taugh us how to do winding
We poke holes in each edge(the model board is soft enough to be poke by needles, advantage of using model board) then have the needles to through it. 4 thread is now hanging on each edge.(I beg you can't understandPhotobucket, should have remember to take pictures). The intention is to tie the copper wires together tightly before taking the copper wire out from bobbin, so that It can remain in 1 piece plus remain the shape just like in the bobbin.

The winding device counts how much winding is currently hold. In this magnetic lock project, more winding is better, but the number of windings does not change the magnetic field of the core. The magnetic field is inversely proportional to the core's/winding's length. Will explain more on the calculation phase.

Then, the copper wire is insulated by tapes. Do not tape the threads in. Remove the thread on each section before rolling it with insulator aka tapes. After insulating the whole windings, and removing the threads, put the copper winding into the E core.

magnetic lock core and windings
You may test your magnetic core now.
I supply 6 V of DC, as to remain 0.5A of current in the circuit.(If you supply more current rating than the copper wire can take up, it will over heat may explode burn)
I will show and explain more on the calculation in next few post.

9/24/2010

How to create a magnetic lock: Phase III: E core's Bobbin

41mm E core
Remember the E core I shown you on previous post?

According to the Uncle that teach me to do winding, we can't do the winding in the core. We must first make a bobbin, do the winding in the bobbin, then only take out the winding and put it into the core.
Note that, bobbin are usually made by plastics or woods. The model that I show here is not the common way of making a bobbin. This is a self impress creative babe's idea to do a one time bobbin. If it happens to be very useful, don't forget to let me know.

bobbin measurement for 41mm E core
First design the measurement that we wanted. Some place must the slightly longer and some place must be slightly smaller so that the winding can still fit in the core after the winding is coated with insulated.

I use Model board to do it. Sort of recycle item.
measure and cut

Then, use white glue to attach them together.
glue it with white glue

I compress the glued model board so as to minimize the space/length take up by glue when it stack up.
compreses the model board

This is how to bobbin looks like. I did 4 sets, but I only manage to finish 1 winding. Will take about that later on the next post.
1 time bobbin